
Midjourney Change Style: Alpha Feature Guide
Midjourney AI Team · September 12, 2026 · 6 min read
Keywords: midjourney change style, midjourney alpha style, midjourney style reference
Published: September 12, 2026 Author: Midjourney AI Team
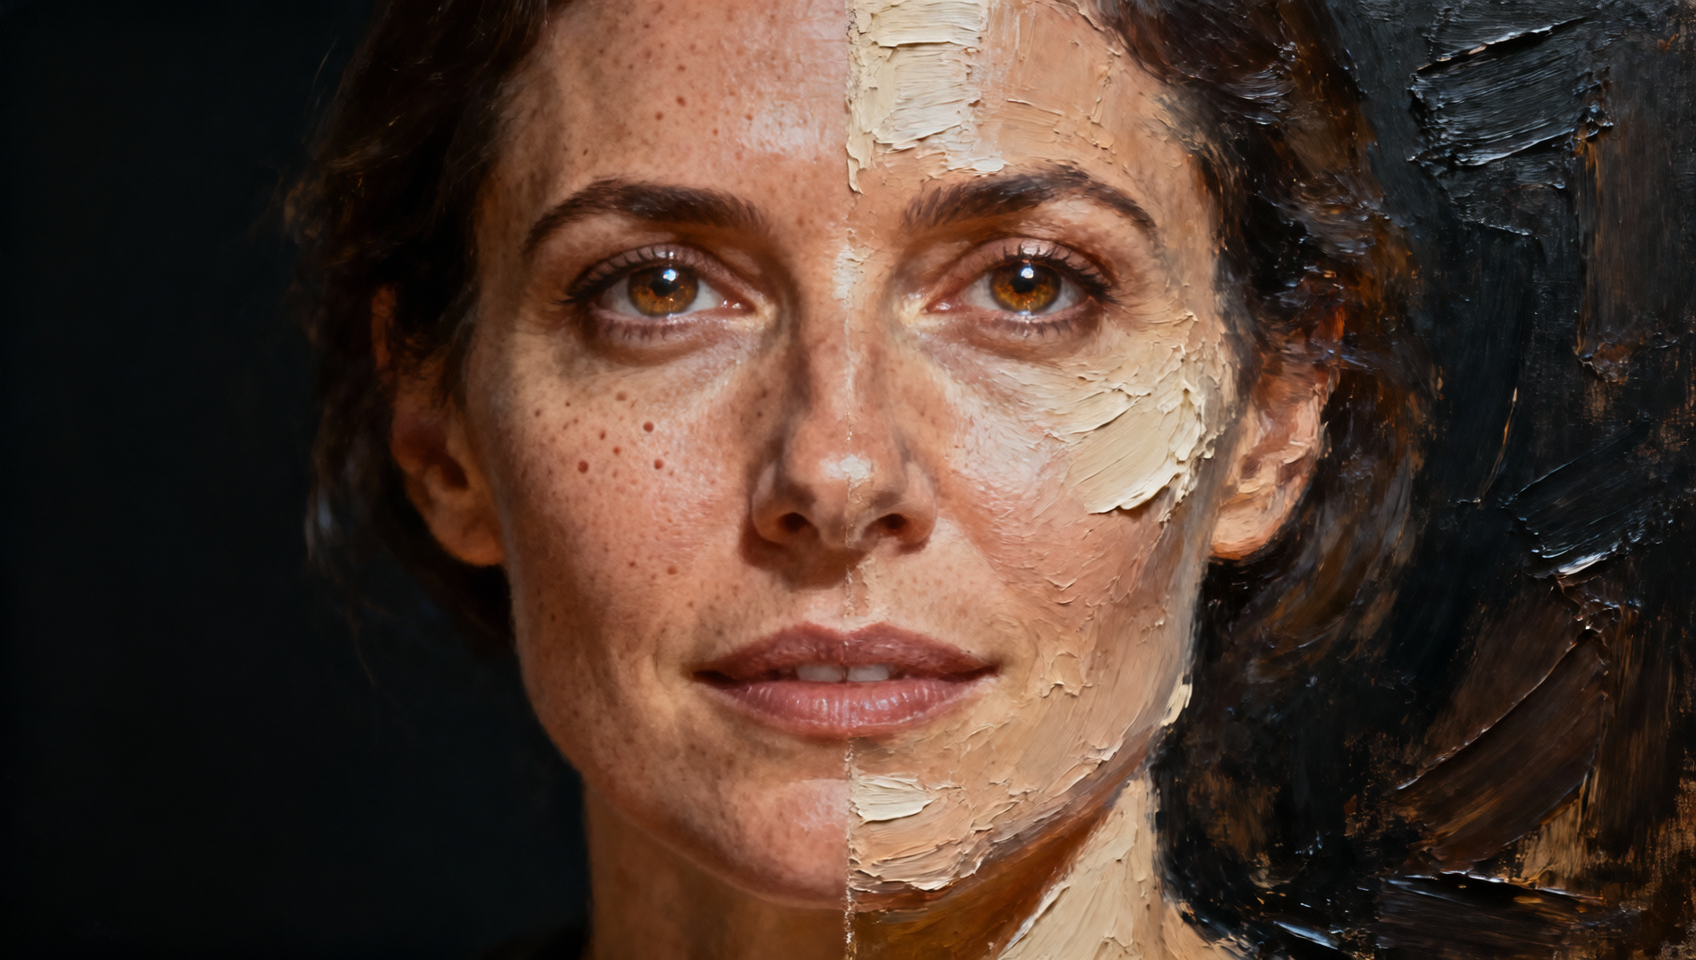
Midjourney is testing a Change Style control in its Alpha lightbox. The feature is designed to explore a different visual treatment from an existing image without forcing you to rebuild the idea from zero. It is an early experiment, not a finished replacement for style references or careful prompting. The safest way to use it is as a fast comparison tool: hold the subject and composition steady, vary the style, and promote only the strongest direction into a controlled edit workflow.
The feature appeared in Midjourney’s September 3, 2026 Alpha changelog. Midjourney described it as part of a wider effort to make style exploration easier. The announcement also made clear that the current version is early. That matters because names, controls, and output behavior may change as feedback arrives.
What Change Style is trying to solve
Style exploration usually starts with many prompt rewrites. You keep the same subject but change camera language, medium, color, texture, or art movement. Each rewrite can accidentally change the composition too. A portrait becomes a wide shot, a product rotates, or a character’s clothing changes along with the desired rendering style.
Change Style aims to shorten that process from an image you already like. Instead of restating every object, you begin with a visual base and explore another treatment from the lightbox. The value is speed. A creative director can compare several directions before investing time in exact references, region edits, or final production prompts.
The tool should not be judged by whether every output is final. Its first job is to reveal promising directions. Think of it as a digital style board tied to one composition.
Define what must remain unchanged
Before you change style, write a short preservation brief. List the elements that make the base image valuable: subject identity, pose, camera position, silhouette, product proportions, or layout. Then list the qualities you are willing to change: medium, palette, surface treatment, contrast, or lighting mood.
For example, a product team might lock the bottle geometry, label area, camera height, and negative space. It might allow the background material, light softness, color grade, and photographic genre to change. This separation gives you a fair way to compare results.
If you cannot state what must remain fixed, use normal generation first. Style change works best when the base already solves the central composition problem.
Run a controlled style matrix
Test styles in distinct families rather than making tiny random changes. A useful first matrix could include editorial photography, clean commercial product photography, screen print illustration, and hand-painted gouache. Four clearly different directions teach you more than four nearly identical cinematic looks.
Use the same base image for every branch. Do not edit the first style result into the second style because the changes will accumulate. Return to the original base each time. Label each output with the style family and test number so you can compare them later.
Score the results on composition retention, subject fidelity, useful texture, color fit, and production risk. A striking style that destroys the product shape should score lower than a quieter direction that can survive client review.
Change Style versus style reference
Change Style and --sref solve related but different tasks. Change Style is useful for open exploration when you want to discover a direction. A style reference is better when you already have a target and need repeated outputs to share a visual fingerprint.
Use Change Style early in a project. Once the team chooses a direction, build a reference set or a reusable style code for later generations. Then test that reference across different subjects and aspect ratios. This moves the work from discovery to repeatability.
Our Stylize and Sref guide explains how to control style strength after you choose a direction. You can also use the Midjourney style keyword cheat sheet to turn a visual result into clearer prompt language.
Write prompts that describe visible choices
Avoid vague instructions such as “make it more artistic” or “give it a premium style.” Describe visible properties. Name the medium, lighting, palette, texture, edge quality, and level of detail.
A stronger request might be: “Change the image to a two-color screen print with rough ink edges, flat shadows, warm cream paper, and large areas of negative space. Keep the subject pose and crop.” This instruction can be reviewed against concrete criteria.
Do not fill the prompt with artist names. A practical style brief should explain the result you need, not rely on one person’s identity as shorthand. Material and production language also transfers better to other tools and team members.
Watch for style leakage
A style change can alter more than rendering. It may change age, facial structure, clothing, object proportions, or scene details because those features often co-occur with the requested aesthetic in training data. Inspect the subject before you celebrate the style.
Faces, hands, logos, product closures, jewelry, and repeated patterns deserve close review. Also compare the crop and horizon. Strong texture can hide geometric drift at thumbnail size.
If the style is right but the subject is wrong, return to the base image and add one identity or product reference. Do not add several references at once. You want to learn whether a single constraint repairs the drift without weakening the new style.
Turn a winning experiment into a system
Save three things when a branch works: the original base, the exact instruction, and the chosen output. Add a short note explaining why the direction won. For example, “kept bottle geometry, improved warm shelf presence, label area remains readable.”
Next, test the same style on a second image. A direction is not yet a system if it only works on one hero frame. Try a different crop, background, and subject while keeping the visual rules. If the look survives, convert the language and references into a team preset.
MidassAI Studio can hold the selected image, style prompt, and reference pack together. That gives designers a usable asset rather than a screenshot with no production history.
When not to use it
Skip Change Style when the job requires exact brand colors, unchanged packaging text, or a legally controlled logo. Use conventional design tools for deterministic brand assets. Also skip it when the base composition is weak. A new style can make a weak layout more attractive, but it will not solve the layout itself.
For a precise local correction, use the V8 edit and inpainting workflow. For a broad model decision, compare Midjourney V7 and V8 before committing a campaign to one stack.
The takeaway
Midjourney Change Style is an exploration tool first. Lock the parts of the image that matter, test clearly different style families from the same base, and judge results on both visual impact and production safety. When a direction wins, capture its prompt and references, then prove that it works on more than one image.
Try Midjourney in MidassAI Studio to keep your style tests, reference images, and approved visual direction in one workspace.